RSS Feed

Tag Archives: Decor

Aging in Place in our Laneway


What does it mean to get older?  Don’t shake your head at me, I’m serious.  What will it mean to me, physically, to get older?  Not just greyer and wrinklier, but weaker and more frail.

But still, you know, hip

But still, you know, hip.

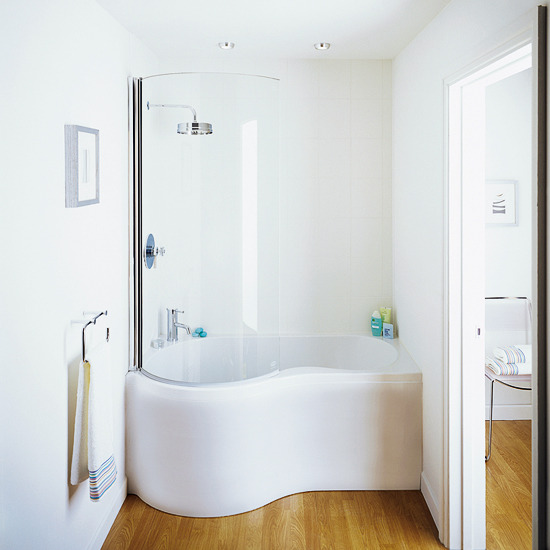
I recently had the pleasure of spending some weeks with a relative as she started her recovery from hip replacement surgery.  Overnight a healthy, athletic lady became disabled, albeit temporarily.  She needed a walker to get around even short distances.  She had trouble getting up and down stairs.  And she wasn’t allowed to bend over from the waist, meaning she needed devices to grab items, a long-handled shoe horn, etc.  She’d prepared for the recovery by having a sturdy metal bar installed in her bath/shower and used a bench when she showered.

She’s well on way to regaining her bouncy life.  But staying with her really brought home how prepared we have to be for getting older without having to move.  Because moving is out of the question.  So I looked it up on the AARP website to see if they had any good ideas.  And they did!

Of course, it’s more than making a cozy home, it’s safety, too.

Aging in place isn’t just about comfort. In very basic terms, it’s about avoiding falls. If an older person can avoid falling and breaking a hip, he can prevent a cascade of other health problems.

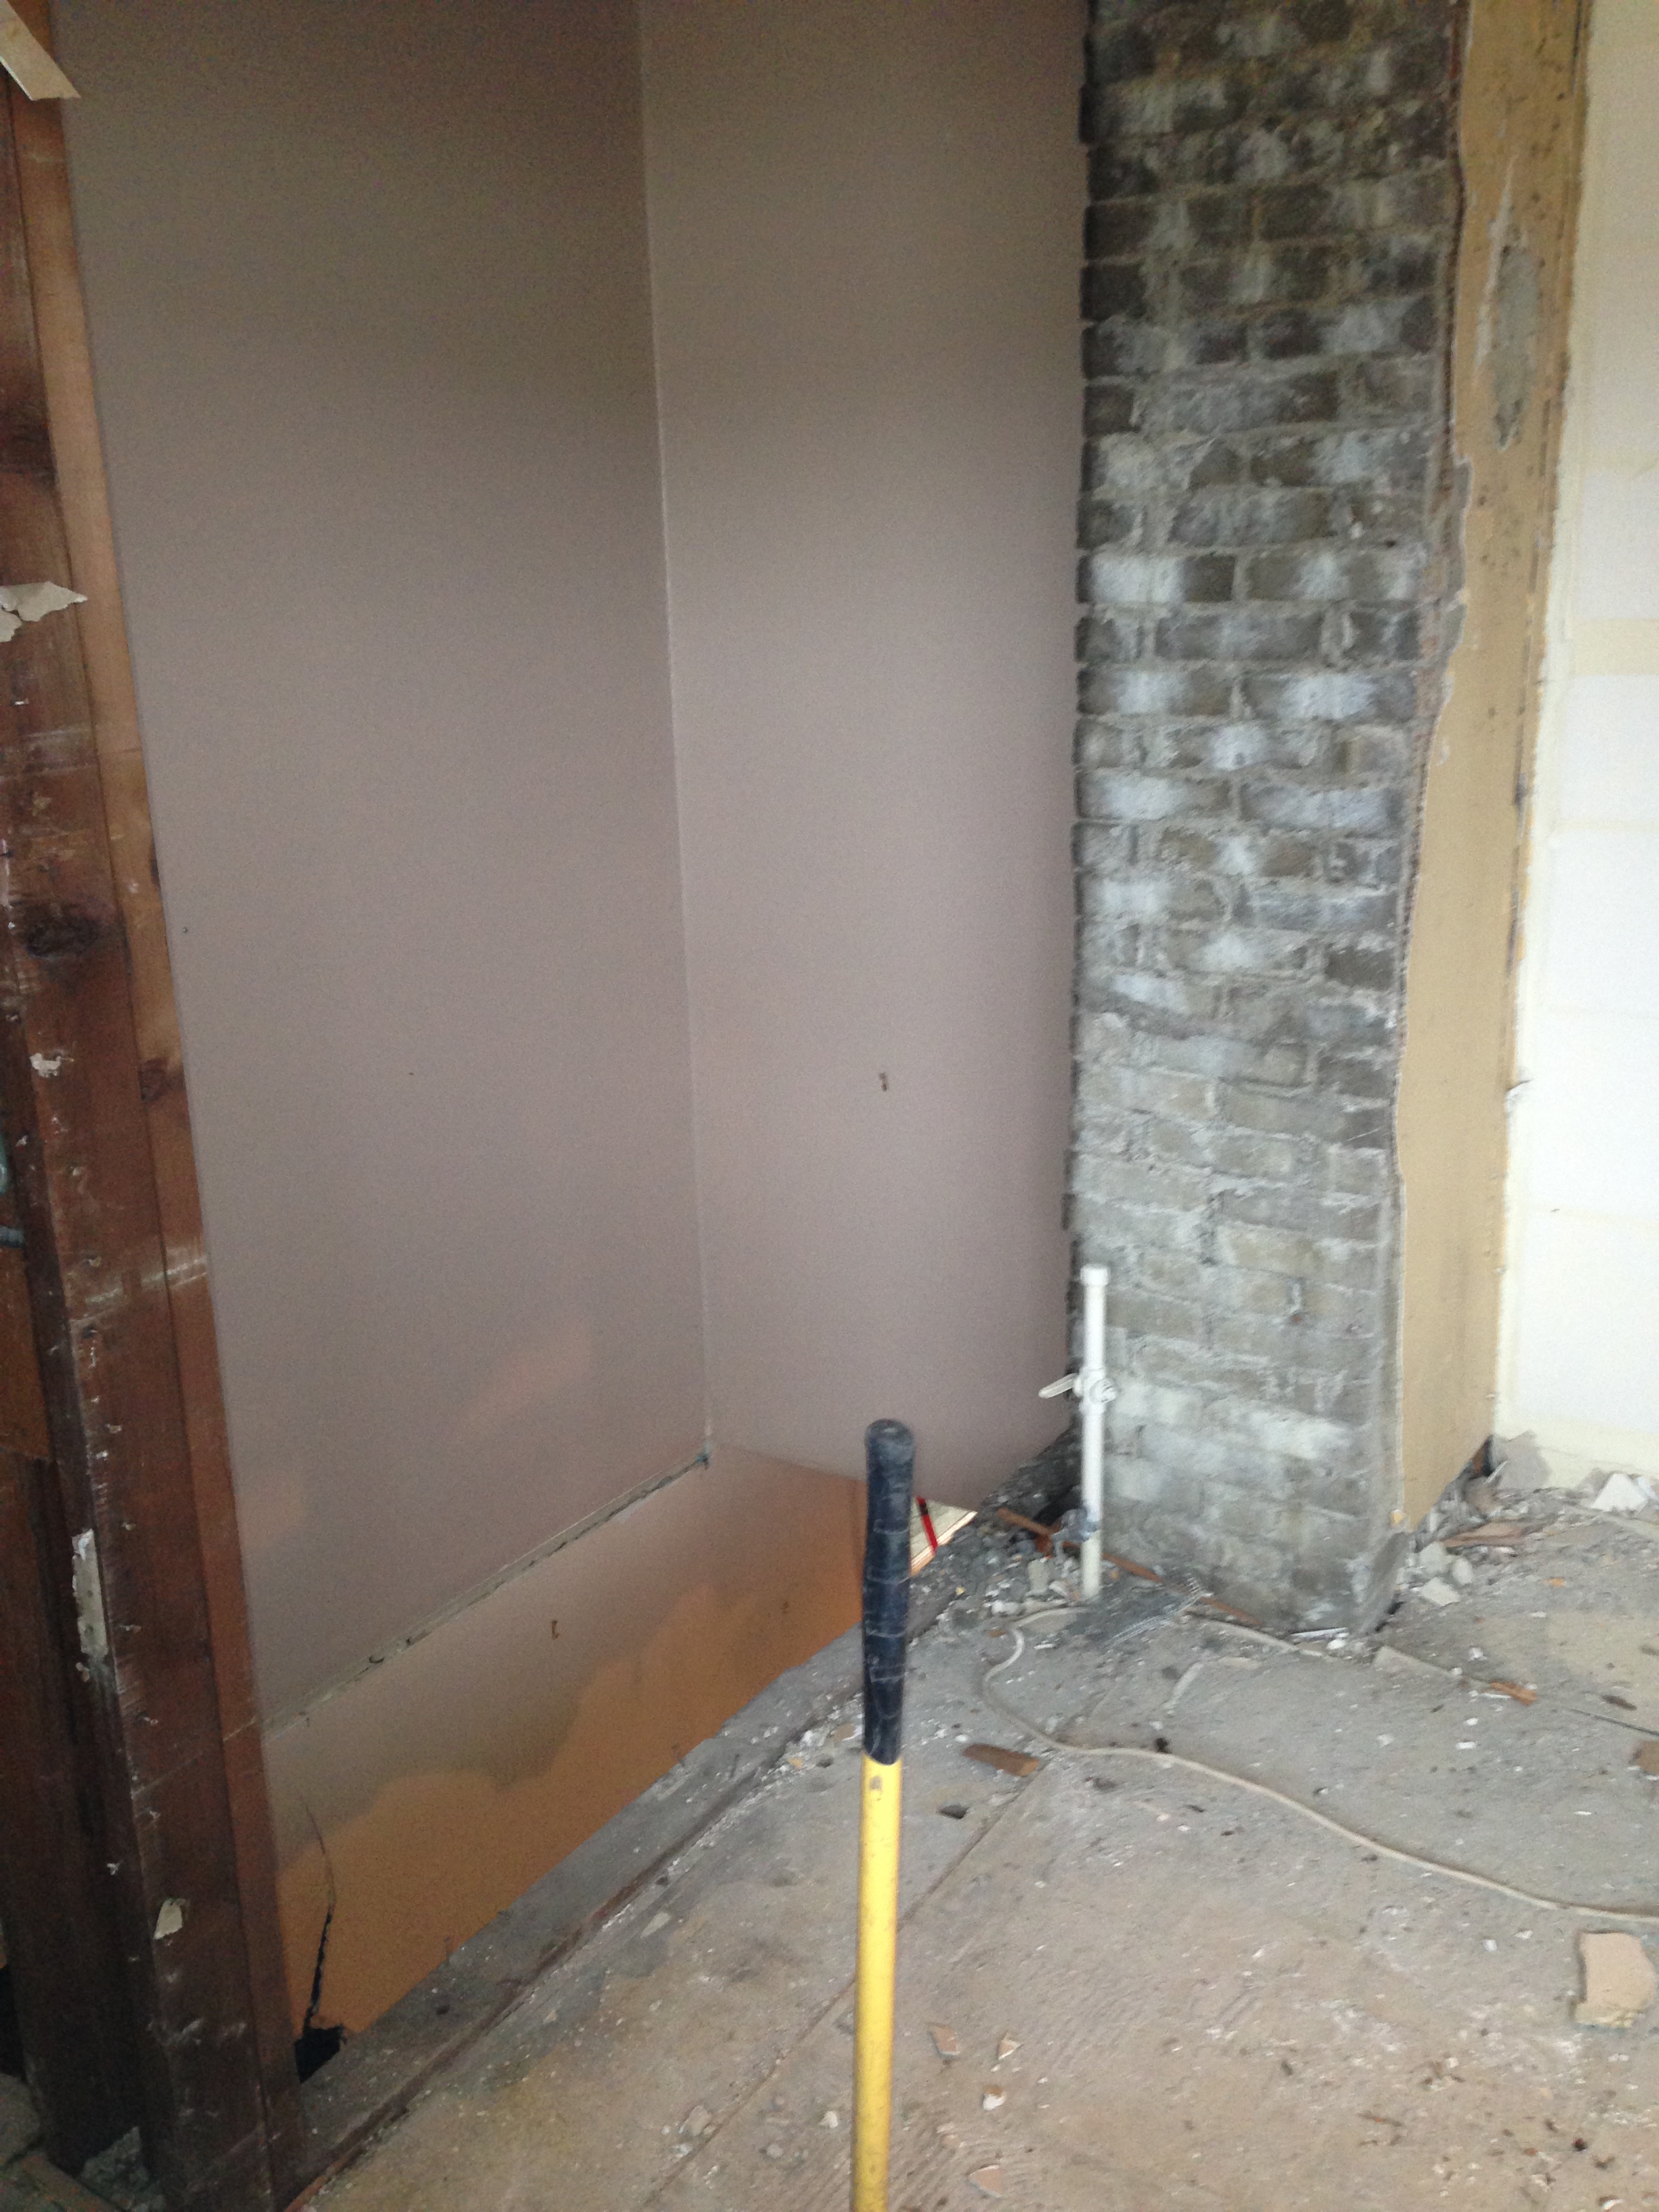
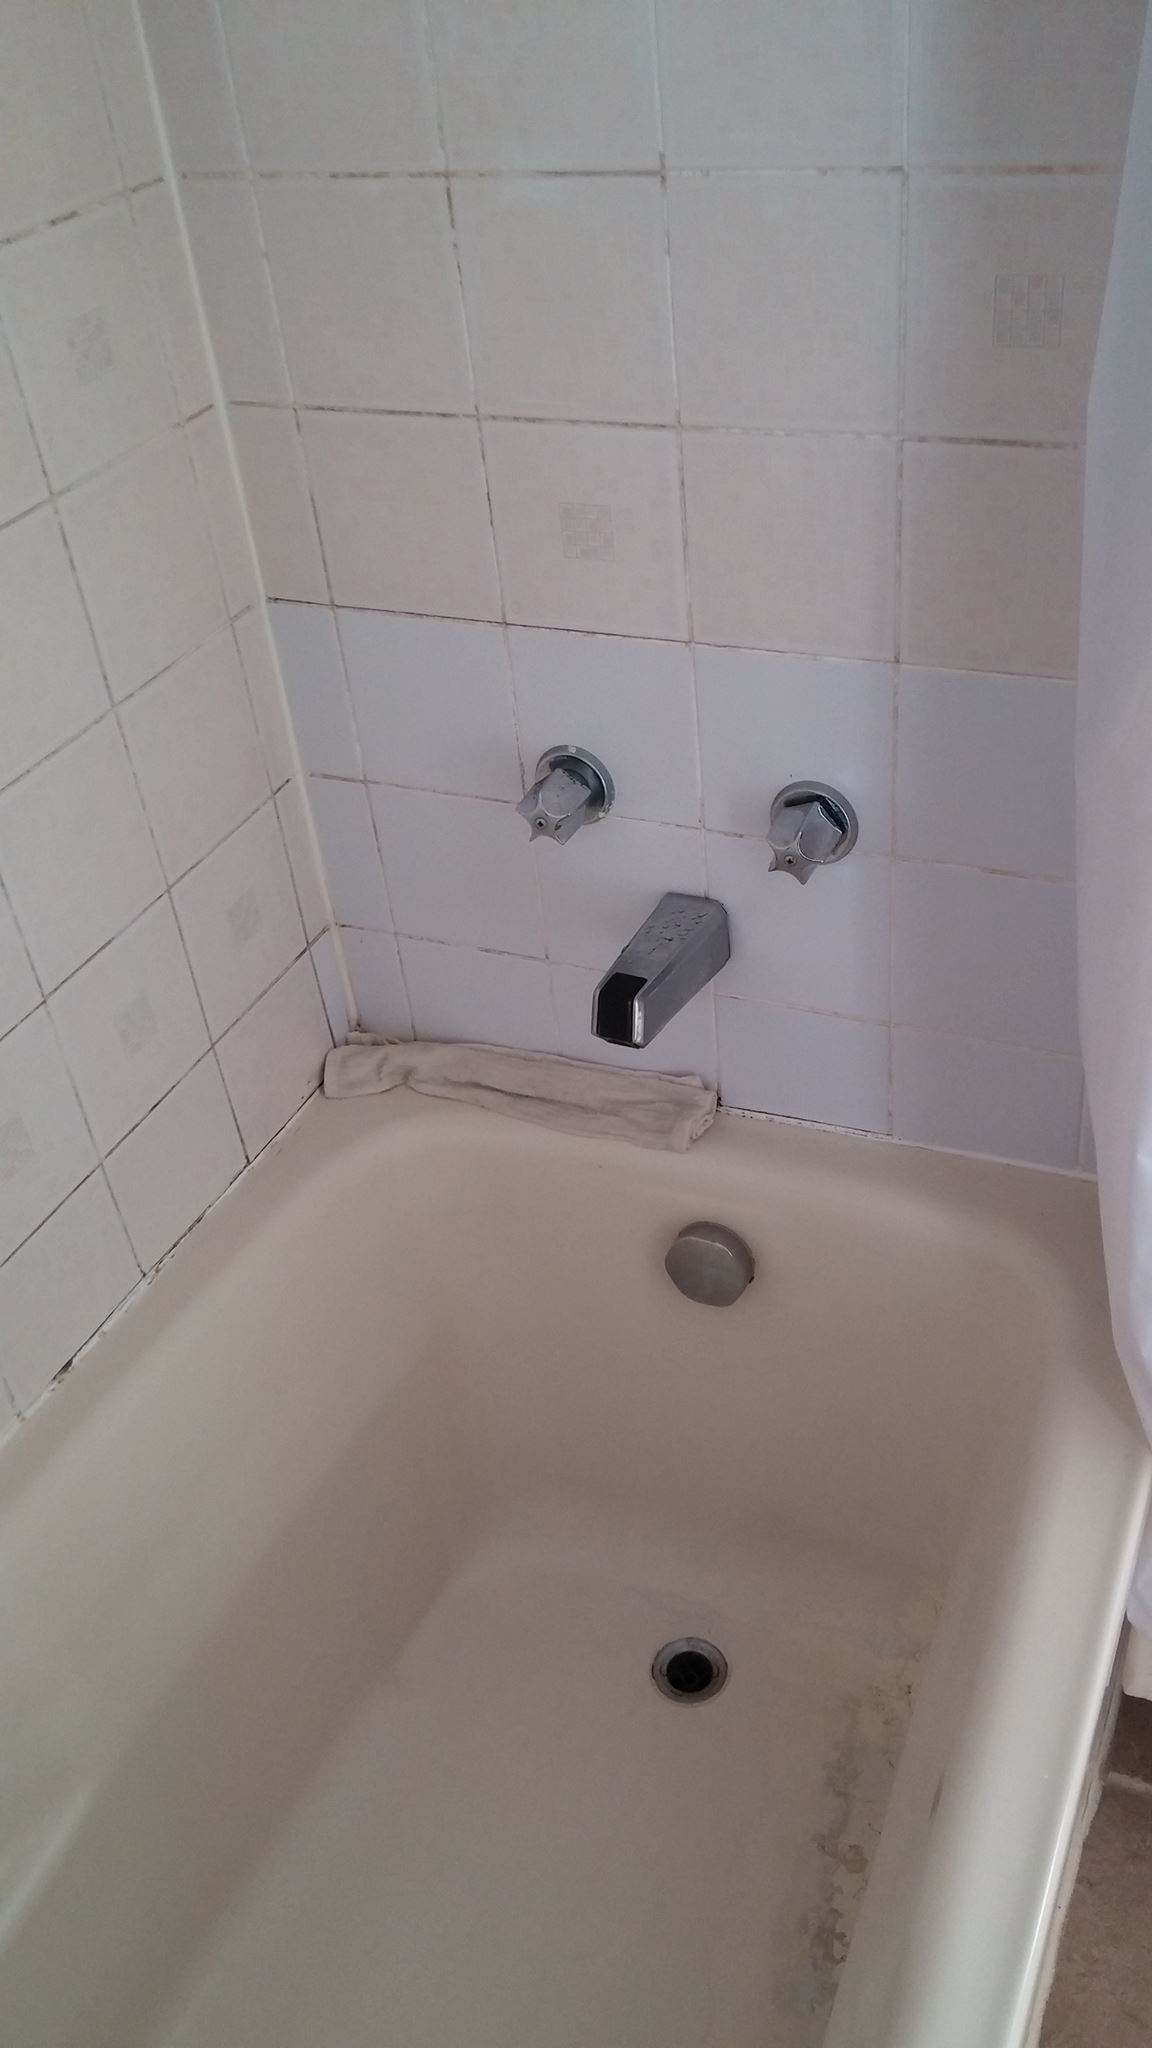
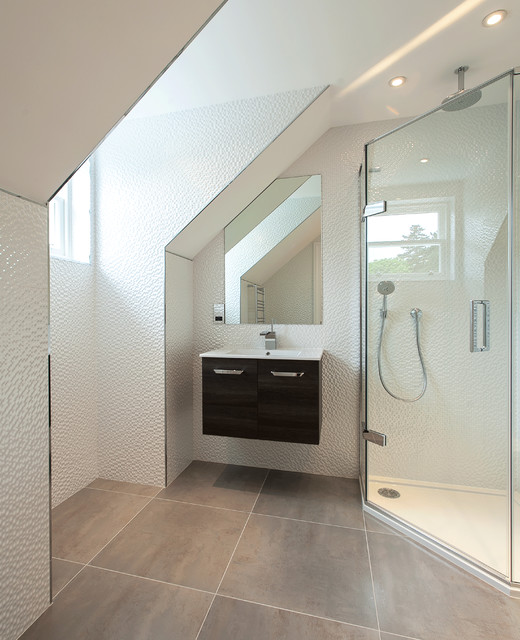
We have stairs, not ideal in a home where we’ll be getting older.  But our bathroom and bedroom are on the same floor so we don’t have to try to go up and down a flight of stairs in the middle of the night.  And our shower is big enough to get a bench in.  The sink and shower faucets are easy to operate, and we set the temperature on one fixture without having to fiddle with knobs.  Living small means our sink counter is close enough to the toilet to supply a hand-hold if we need assistance standing up.  Also in our shower,

a tiled shower area with recessed shelves at arm’s level to stop you from having to stoop down to the floor or reach up to a shower rack

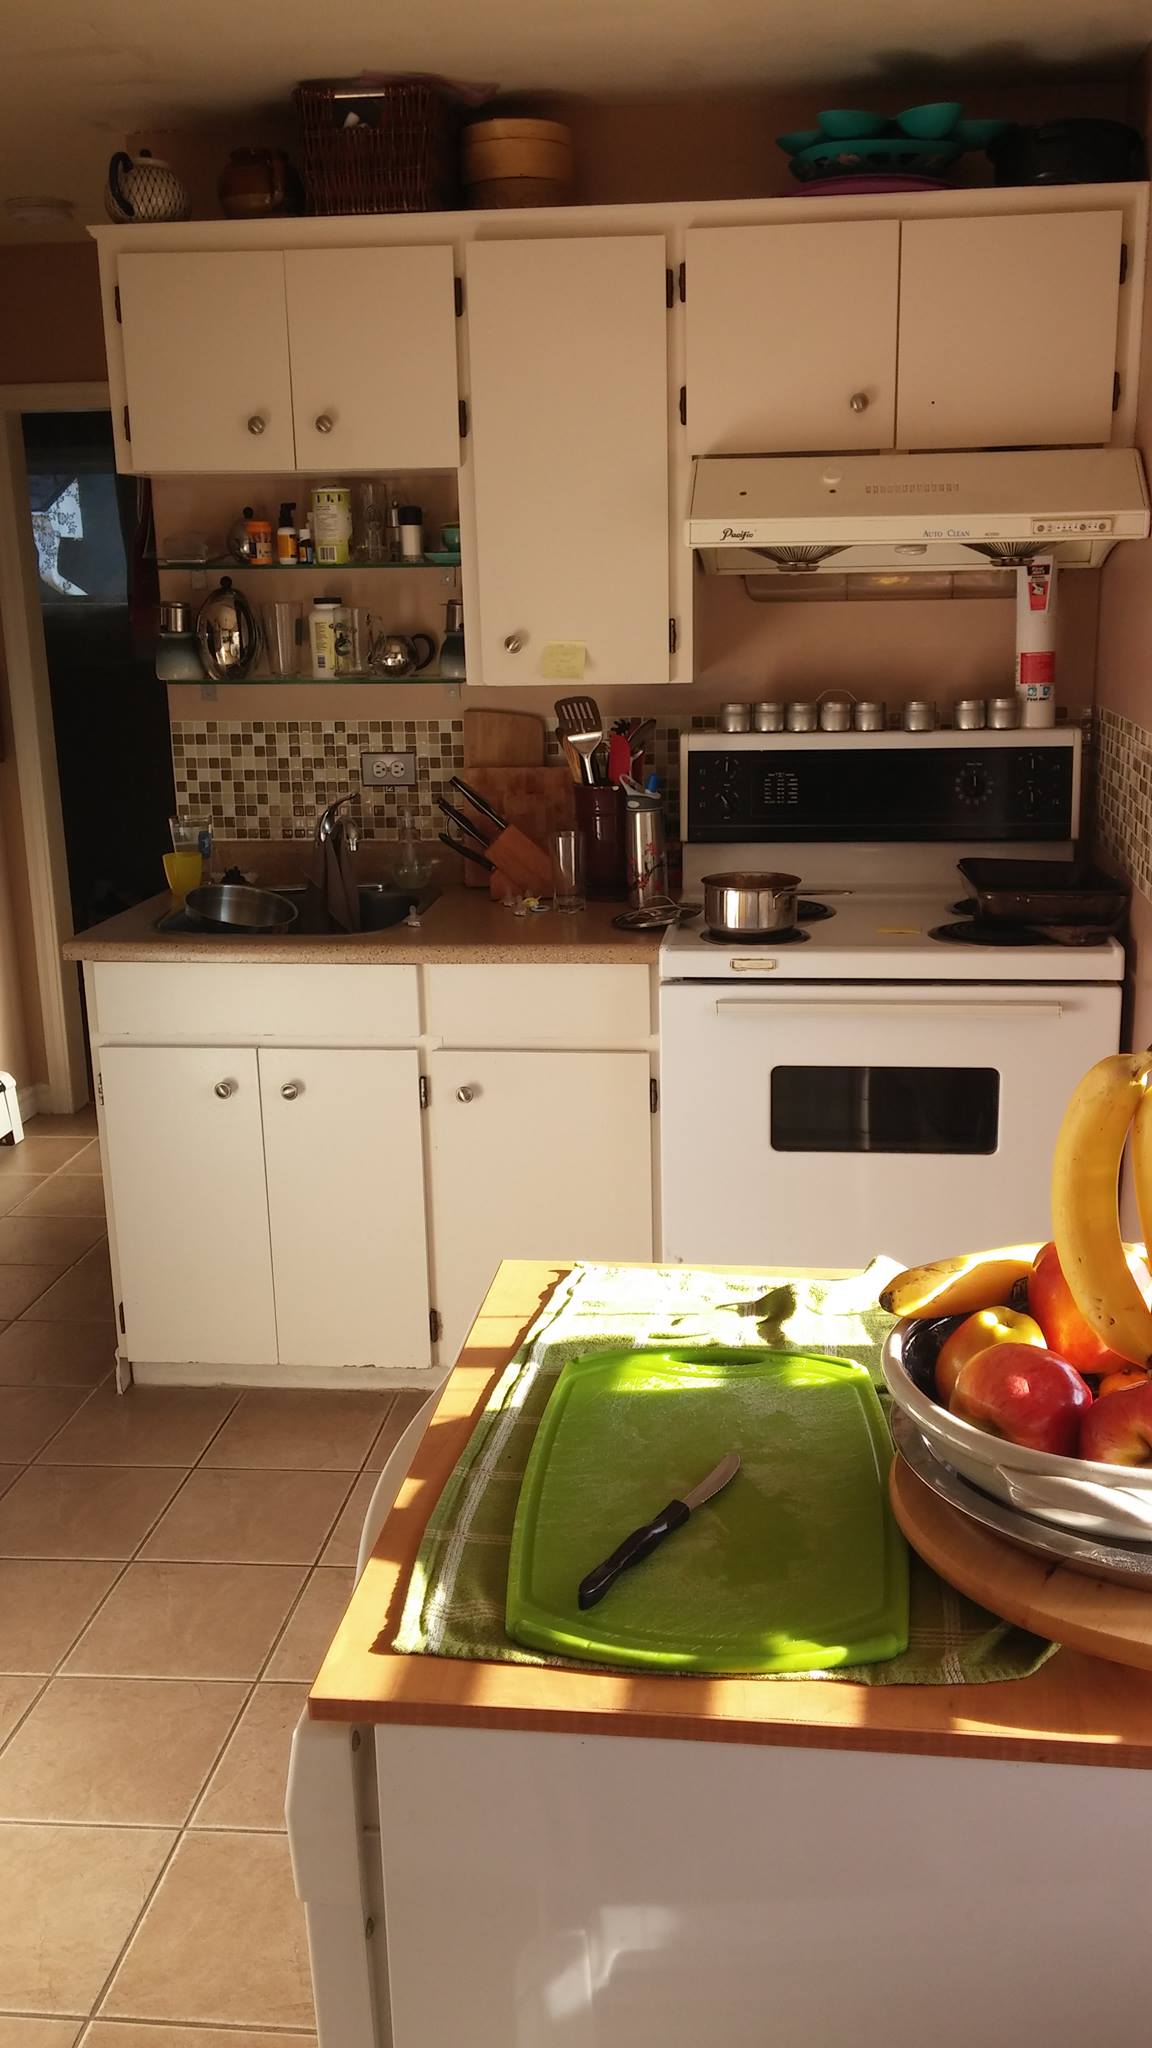
The kitchen/living room area on the top floor has enough places to hold onto to make it easy to get around if balance is a problem.  And we can sit at our counter and work, so won’t have to stand for long periods if we are trying to avoid that. The dishwasher is in a counter-level drawer for easy loading and unloading, we have deep drawers instead of under-counter cabinets, so no stooping and reaching into the depths.

All our flooring is laminated hardwood, no carpets to trip on.  We do have an area rug, a cowhide in front of the TV with no pile.  But if we ever had problems with tripping, out it would go, decor be damned.

Elsewhere, we have lever-style door handles, again, no knobs to turn.

Some other ideas for making your home senior-friendly can be found at this Reader’s Digest article.  This includes

• No-step entry: You should have at least one step-free entrance (either at the front, back, or side of the house) so everyone, including wheelchair users, can enter the home easily and safely.

OK, we have a very small sill, easy to step over but definitely a problem if we are in a wheelchair.  But then, if DH or I end up in a wheelchair we are kind of screwed.  The doorways are not wide enough to accommodate one, the hallways are too narrow.  But short of that, our place is pretty well set up for aging in place.

If you’re thinking of making some changes in your home, though, read this article on things to consider about putting in expensive renos like stair glides, elevators, or even walk-in tubs.  At first glance they look like a great idea, but they might not be suitable for you.

Of course, another reason we’re set to get older in our laneway is the proximity of our family.  If (or when) the time comes that we aren’t able to get around town by walking and transit, they’ll be close enough to take us for an occasional shopping trip or medical appointment.  But we are also really lucky that transit is so close to our home, and shopping is a pleasant walk down and up the hill.

Reduce, reuse, recycle — a house

In our neighbourhood – as in yours I’m sure – the old makes way for the new.  And it’s disappointing at best and heart-breaking at its worst to see fine old homes ripped down for cookie-cutter-mini mansions (in our neighbourhood) or mega-mansions (in richer neighbourhoods).  We had a moment’s worry when the homes on either side of our two-house compound were sold, but luck was with us, the new owners have renovated a bit and moved into the original structures.

Tearing down old houses creates waste and lots of it.  Each demolished home sends 50 tonnes of material to the landfill.  Often homes are ripped down with no thought of recycling the building materials.

But not in Gimli.  Gimli, Manitoba.  According to this story in the Interlake Enterprise newspaper, clever Melanie Casselman is recycling homes rescued from nearby Winnipeg and putting them on lots in Gimli.

Photo courtesy of Interlake Enterprise

Photo courtesy of Interlake Enterprise


It’s a great idea, and not just because it saves money for the developers (because they don’t have to pay for demolishing) and not just because it puts up instant homes in a growing community.  It’s a great idea because it perfectly embraces the idea that we don’t just throw things out.  We try to save as much as we can.

Well done, Melanie Casselman!  Bravo Gimli!

Full disclosure, Melanie Casselman is a distant cousin of my son-in-law.  Further disclosure, I went to college with a girl from Gimli, a natural Icelandic blond by name of Solvason.

It’s a small, small, smaller world

About a month ago, you might have seen a line-up of people waiting impatiently for an office to open in a local suburb.  No, not to snatch the Apple watch.  Not to put their names down for the Google self-driving car.  This crowd of near-rabid buyers was after their own piece of Metro area real estate — a condo in the new Evolve development– for less than $100,000.  This post is not going to be about how to get that space, it was gone within minutes of the doors opening to the sales office.

No, we’re going to talk about how a studio apartment can be big enough for one, or even two. Yes!  You can do it. Don’t listen to the people on TV who roll their eyes as they spout nonsense about how NO ONE should have to live in these eensy spaces.  For one thing, they’ve obviously never done it or they’d know it can be done — easily.  And also they are probably making a lot of money because, hey, they are TV stars, so can afford to live any way they want.

For those of us who choose to live in an exciting, busy, space-challenged city a small space is just what we need.  And want.

Now I could get into how you can design and build a super-duper space within the confines of a studio — and I will — but right now let’s look at this super-sweet 400 square foot space from Apartment Therapy to see how one woman manages to get the most out of every square inch without lifting a hammer or wielding a T-square. And, if it’s a rental, she can move out without leaving a mark to show she was there — a little patch and paint and she’s set to go.

Kay Rozynski is already lucky, because although her New York City apartment is only 400 square feet it is open and bright.  The living (i.e. non-bathroom) area is basically a large box with a very sunny balcony. Kay says she didn’t want to erect dividers because she wanted to maintain that airy flow.

StudioMay1


And the sun just pours in!  Kay has taken advantage of this brightness by keeping her walls a warm taupe — neutral but not boring.  Plus she has lots of reflective surfaces, mirrors, windows, stainless steel appliances, the white wardrobe, even the TV screen.  Everything bounces that lovely light around.

StudioMay2

And her major furnishings are all the same tone — a mid-range of greys and browns.  Nothing to make the eye stop as you scan the area.  Once again, a neutral backdrop to the accessories.

When Kay introduces colour, she keeps it to a couple of shades — yellow and orange, in the kitchen, blue/green by the bed, with the throw at the end of the bed matching the chair in the dining area and the one pillow on the sofa.  That watery aqua colour is repeated in a cushion and the throw on the sofa.  Your eye goes naturally from the aqua cushion on the sofa to the ones on the bed then up to the Moby Dick poster on the wall — also in ocean blue.  Very natural and soothing.

Kay has used area rugs in the same greys and taupes to separate the “bedroom” part of the suite from the “living room”


StudioMay3


In the Lilliputian kitchen area, Kay has painted one wall with chalkboard paint.  This gives her something to write on, of course, but it also visibly moves the wall back.  And check out those accessories — once again she keeps to ocean blue and yellow.


StudioMay4

To add a little rustic touch Kay has hung a yoke on the bulkhead that separates the kitchen from the rest of the living area, but once again it’s tonally in harmony with the cupboard and the butcher block counter, so it’s not jarring at all.  And it’s a clever contrast to the Eames chairs at her table.

StudioMay5

What are the lessons this little home has taught us?

  1. If you’ve got light, keep your windows as bare as possible so that it can flood in.
  2. Co-ordinate your colours so that the eye travels in a natural way from one part of the space to another.
  3. Unframed, graphically simple artwork can introduce the accessory colours without visual clutter
  4. Simple white lamp shades disappear into the wall — once again, no visual clutter
  5. You can use a lot of white in different textures to keep it light without bringing in the boring.

Check out the original post in Apartment Therapy.  What other features do you see in Kay’s apartment that you could borrow for yours?

Being part of the team — simple rules to success.

Now that you’ve found your designer and builder, and signed your contract (or at least looked it over and started negotiations), I guess you can just disappear like those HGTV families and come back when it’s all done! (Cue the OMGs!)

No.  That’s not how this is going to play out.

It gets worse before it gets better

It gets worse before it gets better

I’ve heard where people handed the keys to their decorator or builder and walked away (or stayed in a completely different city) while they worked their magic, but these people are either 1) very easy to please, or b) insane.

You have some obligations to the builder and to yourself to be around during the build.  And more.

1.) Be easy to reach.  Whether it’s asbestos in the heating, collapsing plumbing, knob and tube wiring, or a host of other surprises that won’t pop up until the walls come down, your builder will need to get hold of you.  Make sure you are accessible by cell phone or email so problems can be solved in a timely manner. What if you really are in another town?  Skype, email or phone.  And be prepared for a sizeable long distance bill.

2.) Make up your mind.  Don’t take weeks to pore over samples until you’ve made every decision.  Pick out the cupboards, plumbing features, flooring, lighting fixtures, moulding, door handles — and all the thousands of little decisions that you’ll have to make — early in the game.  These choices have to be made quite early on to make sure there are no hang-ups during the build.

3.) Be flexible.  It doesn’t matter how well you plot and plan, some things just won’t work out.  In our case it was bedside lamps we had to switch out partway through the build.  But it could be almost anything, countertop material that’s no longer available.  Flooring in exactly the right colour.  Then your builder will need to get hold of you quickly (see 1.) above) and get an alternate. But

4. Don’t change your mind.  Some things can be returned to the store.  But not walls.  Once you’ve signed off on the plans everything flows from that, the schedule, the budget, the workers themselves.  Changing your mind during the build can cause terrible delays; yes, it’s just a day or two of work, but that could mean the sub-trades are already on their next job and can only get back in their spare hours.  Those decisions should be made during the design stage.

4.) Get out of their way.  You may not have to actually leave the building — although for big renos that’s a darn good idea — but you should pack up your stuff and make sure all your shelves are cleared and your pictures and mirrors removed from the walls. Demo and rebuild can be rather seismic, you don’t want stuff crashing to the floor.  Your builder will put up plastic sheets where he/she can, to keep the mess contained, but it’s also a good idea to cover your furniture with dust sheets.

5.) Pay your bills on time.  You knew that.

6.) Leave a contingency fund.  There will be surprises — and not all of them good.  That contingency fund will come in very handy — and if you don’t spend it (although you will) you can take a nice vacation when all the hurly burly is done.


Get the most out of your designer — a four-step plan

designer

Step one:  Admit you need a designer.  

You may think you know exactly what kind of room/reno/addition you want.  And hey!  You can get some software for your computer to help you put together some plans.  So what do you need a designer for?  Well, do you know what size windows you can put in the room (housing by-laws have a window-to-wall ratio you must follow).  Or if you need an engineer to sign off on the removal of that load-bearing wall?  A designer knows.  Plus he/she can bring lots of great new ideas to the project that you would never think of.  So enter into your relationship with this person/team knowing that you’re doing the best thing for your future — and paying up front for a good design can save you many bucks later on.

Step two: communicate, communicate, communicate

Show the designers pictures of what you like to let them know your style and what kind of design you want.  Ask questions — don’t be afraid to question everything at any step of the way.  And let them know what you want in the big picture — not just what kind of dining room, but what you want to do with it, how often you entertain, how you envision the entire family gathered in the den.

Step three: money, honey

Let the designer know your budget at the beginning of the process.  Though you may have champagne tastes and a beer budget they may be able to provide you with some Chablis-grade alternatives.  And your designer will let you know if you can complete your entire renovation now or whether you’ll need to finish it over several stages — plus they can make sure that you’re not taking one step forward and two steps back when it comes time to continue to the next stage.

And remember to keep back at least 10% of your budget for contingencies.  I have honestly never heard of anyone who did not need that money before the project was over — no matter how precise their budget and plans were at the outset.

Step four: communicate some more

With each stage of the design process you will be defining exactly what you want and need.  Changes to the plans will cost much less than a change order at the building stage.  Plus!  Love the look of marble in your bathroom?  Knowing that at the design stage means you can look around for exactly what you want, find the best prices, and order it early in the build stage.  Knowing well in advance what kind of plumbing fixtures you want, choosing the right tile for your backsplash, having a firm idea of the flooring you want will all pay dividends during the build.

Another reason to hire a designer — you can relax, knowing that your project will be wonderful!

Strategies for Coping with a Renovation

DD here again. We’ve been away from home for a few nights and the project at the “Big House” is underway.

For some reason, I underestimated just how stressful a renovation of this size is. Perhaps because we were able to stay in our home for the first phase, I’ve been caught off guard. So here are my top 5 coping strategies for surviving a renovation. Handy for me, too, seeing as we’ve got a few weeks to go yet:

1. Do not underestimate how stressful a renovation is!

Did I mention I’m a bit caught off guard by these feelings?

This dark photo (taken by a laneway dweller) is a hole where my kitchen was. Unexpected sadface took place when I opened it.

This dark photo (taken by a laneway dweller) is a hole where my kitchen was. Unexpected sadface took place when I saw it.

Because our reno was initially discussed for a March start, and we found ourselves with a January start, it was a bit of a whirlwind getting ready. Even without the accelerated pace, any family planning a significant reno will likely have to:

  • Find a new place to stay (we’ve squeezed into my in-laws’ condo in the suburbs), even if it’s just another portion of your existing home
  • Pack up the house, but with a fun twist (disclaimer: NOT FUN) … organizing what will be discarded, what will be stored and left unused, and what will come with you
  • Reschedule family events to sync up with the new location/being away – or plan for being without utilities (cloth diapering? yeah, let’s put that on hold)
  • Purchase items or pick out items for reno (fun at first, but it can wear you out)
  • Meet with the contractor and make big decisions about the future of your home quickly

I wasn’t prepared for how incredibly stressful this process would be. Over the holidays. With two small kids (4.5 years old and 4 months old). Thankfully, my mom lives in my backyard! Still, yowza.

2. Explain everything to the kids. Then explain again.

I have a charge ahead, think things through later approach, which means I often forget about the impacts of major life changes on the rest of the family. Don’t worry, they remind me!

My daughter misses home, and is acting out, with meltdowns a couple of times a day. And just today she turned to me and said “I miss our REAL house. Our yellow house. When can we go back to the yellow house?”

Knowing what I do now, I’d advise other parents to do a better job than we did of explaining the whole process to the kids. Try and share plans and show them materials. Show them pictures that depict what the after should look like.

Do not let your children see the house packed up, or the demo. This is something we did right, and thankfully there were no tears upon departure. We’ve also kept our daughter signed up at her daycare part-time, both to preserve the spot for when we get home, and to keep some consistency in her routine (despite the 1 hour commute, I’d say it’s worth it).

3. Dwell on the deficiencies.

Five days out of my house and I’m looking wistfully at pictures my old kitchen. So cute! So charming! So much like home. I’m … well, I’m homesick. I guess my daughter’s not the only one.

I’ve found that one of the best ways to combat this homesickness, and fear of change, is to dwell on what wasn’t working in the house before we left.

To help with this, I made a video of all the house’s shortcomings. You can view it here.

Smashy smashy! I used to make my coffee here. Now it's a giant hole. My primal brain is reeling.

Smashy smashy! I used to make my coffee here. Now it’s a giant hole. My primal brain is reeling.

And brace yourself! If you’re not home to see the demo, and your contractor (or family member) sends you photos, it can be a blow. It’s your home. There are holes smashed in it. Again, all for the best. But these things can really pack a punch.

4. Ignore the helpful comments/questions from family and friends. Instead, put them to work!

I will preface this by saying that my friends and family are AMAZING. Amazing. But even the best of intentions can lead to comments like:

  • Are you sure you want to sink all of that money into your house?
  • Why don’t you just fix the living room while you’re at it?
  • Why aren’t you taking out this wall?
  • Why aren’t you kicking the kitchen back? Just adding two feet would give you so much more space!
  • Huh, a checkerboard floor. I don’t think that’s going to age well. Why not just white?
  • Cool. A checkerboard floor. But why not just brown?

I had to quickly learn not to take these comments to heart and start second-guessing our plans.

On the other hand, my family has been incredibly helpful. My visiting aunt and uncle helped us throw a bunch of items into our attic and shift boxes around. And did I mention my mom lives in my backyard? When time was tight and we had to be packed and out, she watched both kids so we could get it done.

5. Treat yourself.

Whatever it is you need to do to look after yourself, do it. Reno time generally means time to tighten the purse strings. But don’t underestimate the power of a treat, a yoga class, a dinner out. Be kind to yourself – this is a major, major life event. If you’ve relocated somewhat far from home (as is our case), take the time to check out the local community centre, and ask around about great restaurants, bookstores, galleries … whatever might brighten your mood.

Next time I sign in, we’ll be well underway. For now, I’m going to dip into the Christmas chocolate.

Finding the help you need — contractor and designer

Congratulations!  You’ve decided that you will hire the help you need to renovate your living space.  Now you just have to find them.

build

This will probably take a few weeks (or even longer) so in the meantime be sure to browse the internet and save images of what you’ll want and need in your new space. A picture is worth a thousand words, particularly when those words are cornice, mansard, and French cleat.

In a small community you will only have the option of two or three companies.  But in a larger city…..

Don’t worry about whittling the list down just yet, just get lots of names.  Ask all your friends who have undergone renovations who their contractors are, and if they would hire them again (this helps you eliminate some of the bad eggs right away).  Go online and Google designers, builders, and design/build companies. Check out their websites — just because it’s not a snazzy site doesn’t mean they are not good contractors, but you can get a feeling about their work from what they have up at the site.

What if they don’t have a website?  Well, they are either very old-school and rely on word-of-mouth, or they are brand new to the business. Do you want to work with either of these types?

Go to the Houzz site (which you are probably visiting for reno ideas).  They can help you find local contractors/designers. 

Go to the Greater Vancouver Home Builders’ Association website.  Check out the Trusted Pros website for more names.

When you have a good list, run the candidates’ names through the Better Business Bureau website.  Again, not necessarily a deal-breaker, but membership is another sign the business is on a long-term professional basis.

Now comes the hard part.  Start phoning and emailing.  I recommend phoning over emailing.  If you can’t get an answer or a reply to your message how will you communicate during the build?

What vibes did you get about the company during the call?  Do they seem professional?  Are they short with you, or even rude?  Remember, you will be dealing with these folks for a long time — pleasant is what you are going for.  If they are a builder, can they recommend a designer?  If a designer, vice versa?  How soon can they begin to work on your project (no kidding, some of these people are tied up years in advance)?  Are they licensed?  Insured?  Ask for several references, preferrably some recent and some long-term.

This is where your list will be whittled down.

Make appointments with the two or three you really like.  If these are eliminated you can always go back to your list.  Do they arrive on time for your meeting?  Are they keen to do the work?  Are you comfortable with them?  Do you feel they are really LISTENING to you? Talk to them about the project.

Be sure and check the references.  Did the client like working with the contractor?  How did they handle problems that came up?  Were they easy to reach? Did they keep to the budget and the timeline?  Would they hire them again?

Look, really look at the bid when it arrives.  Does it cover the entire scope of the job?  They should also have some rough plans to show you — and give extra points if they have some ways to save you money, or how to improve the plans with a few of their own ideas.

We needed design services when we built our laneway home — more than what a contractor could provide.  So we went with a design/build company – Novell.  It worked out really well for us, and I think it’s a good idea for most people.

When the designer and the contractor have worked together before they know how each other work. And most importantly, if they have any differences YOU will not be caught in the middle.

And when the bids finally start coming in,  as this story from Apartment Therapy reminds us, remember: fast, cheap, good.  Pick two.  A good contractor can deliver fast and good, but at a premium.  Or affordable and good, but not on a tight schedule.  And no good contractor will promise fast and cheap — because you can’t get a quality job with those constraints.

At the “Big House”: Big Changes

Hello!

DD (dear daughter) of your favourite laneway dweller here.

Oh, barf. The only good thing about this tub is that my son was born here. Beyond fixing. Impossible to clean (moulding from behind).

Oh, barf. The only good thing about this tub is that my son was born here. Beyond fixing. Impossible to clean (moulding from behind).

Recently we decided to bite the bullet at the “big house” and finish off the next phase of renovations we started at the same time the laneway house was built.

If you recall, we only had enough money to finish the basement suite (half of the basement), leaving us with half a gutted basement, and lots of deficiencies in our living space on the main floor.

Vancouver is a pretty tight market, and our budget is relatively modest, so our 1950s bungalow includes some peculiarities we’d been living with for some time.

In the kitchen these are:

  • Only one drawer (forcing us to use baskets in every other cupboard)
  • Less than three feet of counter space
  • An oven with tilting elements and a door that won’t open
  • A single sink (which gets tied up every time the portable dishwasher is on)
  • A faucet that rotates when in use
  • An awesomely big, but fairly ugly utilitarian fridge
  • A door to the back deck that won’t stay closed, and sits at the top of a steep staircase (to the basement)
  • Overhead lighting that doesn’t always work (there are three lights on a track and different ones light up each time)

And in the bathroom we have:

  • A medicine cabinet with warped shelves (and UGLY.so.very.ugly)
  • A fan and vanity light on the same circuit (ugly and LOUD)
  • A tub with cracks in the bottom, and a mouldy hole along the caulk line
  • Tile with rotting/mouldy grout (moulding from behind)
  • A sink with no counter and a cabinet with doors that are falling off
To me, this kitchen almost looks charming. But! Single sink. Loose faucet. Oven of uselessness. Sticker backsplash. Nope. No.

To me, this kitchen almost looks charming. But! Single sink. Loose faucet. Oven of uselessness. Sticker backsplash. Nope. Nope. No.

So some serious issues along with cosmetic ones, including the fact that the backsplash mosaic tile in the kitchen is, in fact, a sticker (one of my interim solutions).

And by finishing the basement, we’ll be able to increase our living space by about 400 square feet, giving our family some breathing and growing room.

A few people have asked us, for the amount we’re spending in renovations, why not tear down and build a new house? Great question. Some of the reasons (in the six years we’ve lived here) include:

  • We couldn’t foresee vacating the property for the amount of time needed
  • We want to keep some of the neighbourhood’s original character
  • We don’t need a bigger house, just a smarter one
  • We didn’t have the $250,000 + ready at the outset, and now that we’ve started down renovation road, there’s no turning back

So stay tuned for updates on the progress, or lack thereof, as we work through this next phase.

DIY? Or hire a pro? Ask yourself these questions.

If, like me, you have been watching the season marathons at the DIY&HG stations, you are probably looking around your place and wanting to make a few changes.  (Unless, like me, you moved into a brand new custom-built place a year ago).

Don't try this at home, kids.

Don’t try this at home, kids.

And you may even have good ideas about what you want, and you’re feeling like maybe you can do it yourself.  How do you know if you should tackle the job by yourself and when to hire a contractor?

1. Have you done it before?  Yes, you helped your brother replace his toilet.  Sure, you repainted your summer house.  OK, you are good to go.  You know the scope of the job and you’re prepared for a realistic amount of work and mess.

2. Do you have to buy or rent new tools to perform the task?  If you’re putting in a new backsplash, for instance, scoring and clipping a few tiles to make that corner fit is something most handy homeowners can handle. Hiring a tile saw takes a little fix-it job to another step.  Drilling a hole in concrete to hold a bolt is one thing, hiring a pneumatic drill is another. Got a compound mitre saw?  It’s a pretty tricky thing to operate. There’s no hard-and-fast rule, but the more complex the tools, the more complex the job, and maybe it’s something you should leave to someone who has used those tools before.

3.  How much mess can you live with?  And for how long? I have friends who wanted a new ceiling ladder installed so they could have access to storage in their attic.  It wasn’t a big job, so a friend of a friend with considerable home reno experience said he would do it.  But he ran into problems.  And instead of asking my friends if they wanted their contractor to handle the now-larger job, he took it upon himself to do it.  Of course, he was working weekends and evenings, with the occasional afternoon work.  Short story long, six weeks later the ladder is still waiting to be installed and there’s a big ugly hole in their back bedroom ceiling.  When you DIY, you can be living with mess for weeks because the work is usually performed in someone’s spare time.

4. Does it matter if the job isn’t very well done?  Not a crazy question.  If you are having a complete kitchen reno in the next few years, just stick on some tiles on the floor and the walls and smarten the place up for a quick fix.  A cute mural on a wall that will be repainted when the child is a few years older doesn’t need to be Disney-approved.  A DIY slipcover on a sofa that will be tossed when your reno is done next year does not have to look perfect.

5. Does the pro who does the job need a license? Never do your own wiring.  Don’t do more than the simplest plumbing jobs yourself.  You are not only jeopardizing the future value to your home, you could be risking your life.

Now here’s something you may not have thought about

6. How much will the job cost? For larger jobs, you might want to borrow some money.  There’s a payoff to borrowing money for projects that will increase the value of your home (I’m talking about bathrooms and kitchens).  Not many lenders will let you walk away with their cash unless you have a professional doing the job.

7. What will it look like? Even if you are making minor design changes, I recommend hiring a designer.  Even after years of poring over design websites and magazines, I could never have found the creative solutions to our space problems that our designer did.  Unless you are an architect or a designer you just don’t have the knowledge to provide the best results.

Now we know whether or not we want to hire someone, I’ll have a few suggestions on finding the right person to help.

Small bathrooms ideas worth thinking about

Hypothetically, you may be interested in putting in a small bathroom.  Maybe you are designing a laneway home for yourself, maybe you have an attic bedroom you’d like to link to a teeny ensuite, maybe you’re trying to fit a powder room or shower into a basement corner.  I’ve told you how we solved the space problem in our laneway bath — now for some other ideas to get the most out of your restricted space.

If you just can’t say good-bye to the tub, you could try a tiny one. This one lets you keep the shower and tub combo.

TinyBath1

This one is loaded with luxury, and can be snuck underneath a sloping ceiling.

Contemporary Bathroom by London Interior Designers & Decorators Chantel Elshout Design Consultancy


And this one puts the bath and shower into a “wet zone” at one end of the room behind glass doors. Not as compact, but still a good solution when you need both a bath and a shower:

Tinybath2

Another solution is to put the shower into the corner of the room, like this:

TinyShower1

The sliding doors mean it could be snugged up tight to the toilet if you have to — no space needed for your out-swinging glass doors.

Or, in this corner shower, the entire shower is put into a corner, in a nice, triangular shape:

Good use of space putting the sink beneath an eave (or even a staircase) with a sloping roof. And the floating vanity makes the whole room look bigger.

And here’s something I wish we could have put into our bathroom:

Tinytoilet1

A toilet where the tank is placed inside the wall.  It’s so clean and contemporary looking, and of course doesn’t take up as much interior space.  But you have to place the tank space within an interior wall, and we just couldn’t make it work.

Of course a tiny sink can also save you precious inches.

tinysink1

Even IKEA sells a tiny sink.

tinysink2But remember, you won’t be able to build any storage beneath these sinks.

This Tiny-House architect installed a stylish sink in her shower room. the whole home is just 196 square feet, and the IKEA mirror on the retractable arm is their only mirror.

TinySink3And remember that lighter coloured walls will expand the visual look of any small room.  Shiny tiles, mirrors, and glass surfaces also add to the feeling of space.

Tinybath3

Keep it sleek, clean, and simple.  And any bath can look larger.


My Pain, My Life, My Struggles, My Fight

Come walk with me, Down My Dark & Stormy Journey BUSINESS INQUIRIES & CONTACT EMAIL : GODSCHILD4048@GMAIL.COM

ANNOTATED AUDREY BLOG

Artist and Desert Dweller with Big City Style.

Im ashamed to die until i have won some victory for humanity.

Domenic Garisto / LIFE IS NOT A REHERSAL,SO LIVE IT..if you can't be the poet, be the poem..havau22.com

The Lady Who Lives Down the Lane

Lane Way Housing for the Nervous Novice

Apartment Therapy| Saving the world, one room at a time

Lane Way Housing for the Nervous Novice

Slightly Snug House

building a home that's not too big and not too small

Vancouverandy

Funny thoughts from a nut like me.

The World is a Halidom

Simple Northern Life Publication

Small House Bliss

Small house designs with big impact

WeeHavyn

Lane Way Housing for the Nervous Novice

Small Housing

Lane Way Housing for the Nervous Novice

%d bloggers like this: